I am now seriously hooked on making my own wrapping.
I found it extremely enjoyable, therapeutic, simply precious :)
So to not get boring with cute pastel patterns which mothers of boys might find annoying by now :P...
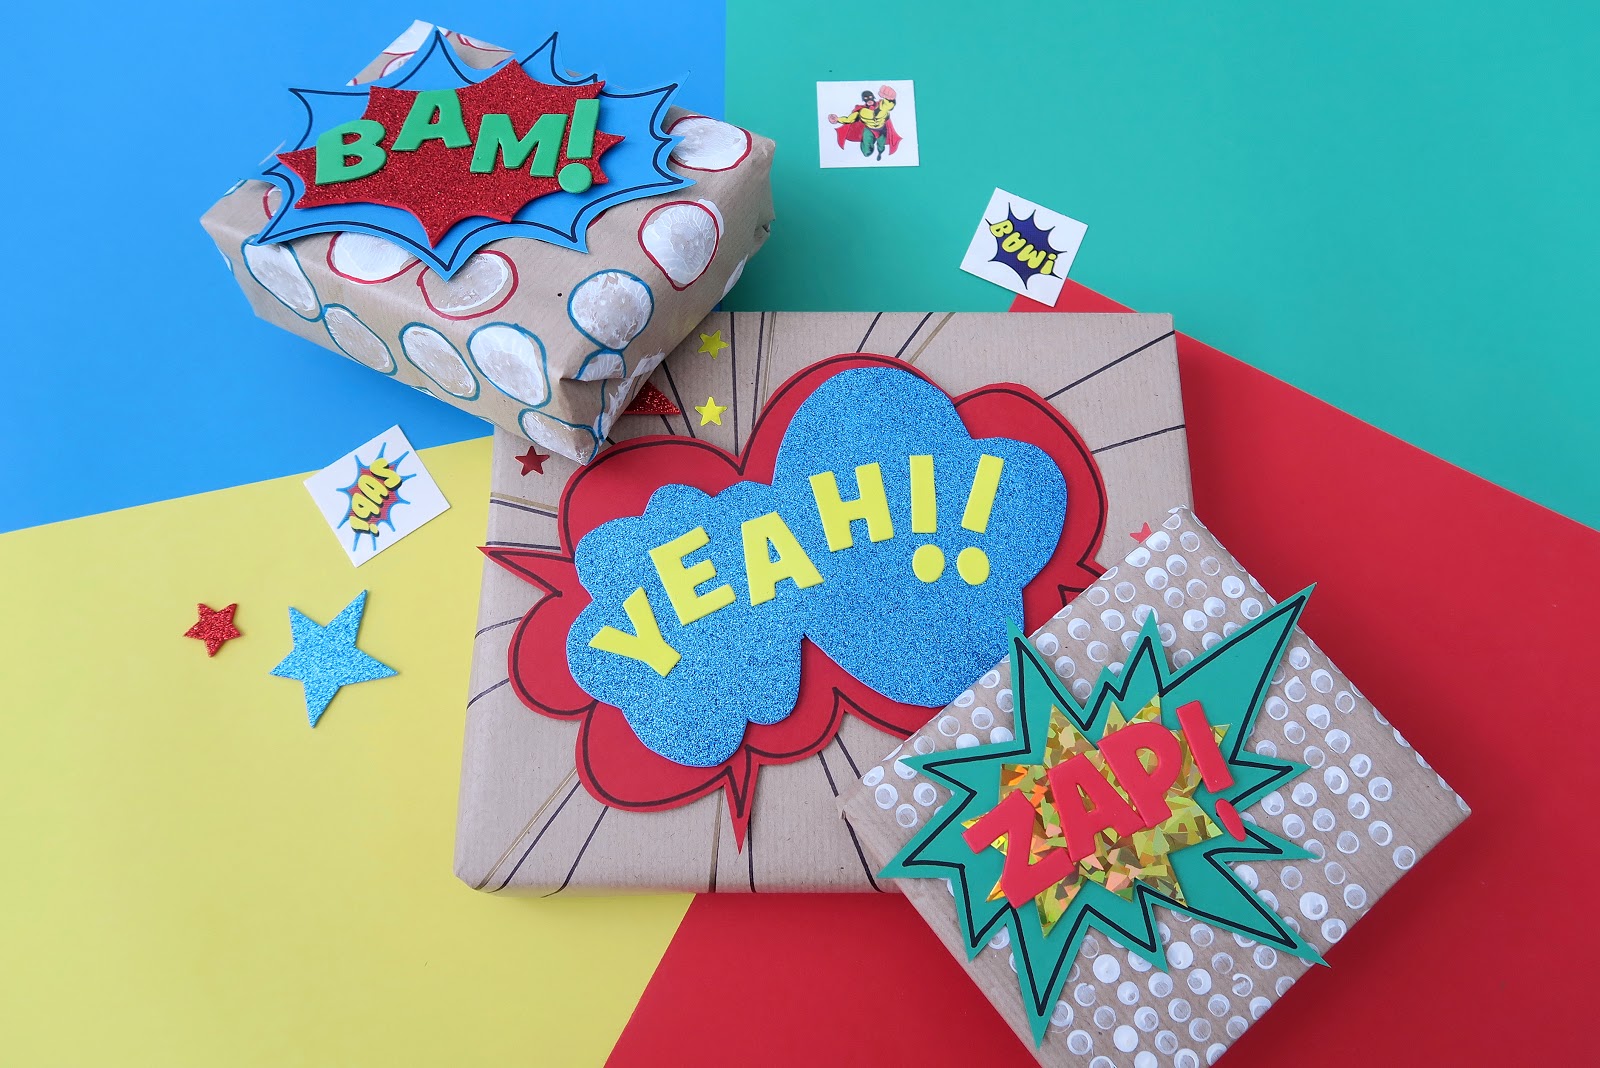
I am delighted to share a bold, more unisex fun gift wrap idea.
Comic book themed - easy,fun, for boys and girls or even man and woman!
Ela has joined in this time and we love the result of our team work.
First, lets have a look at materials for this project!

Stuff we had at home, nothing too fancy ;)
Step 1.
Draw some speech comic clouds on coloured cards using black thick felt tip pen.
You need to consider the size of gifts you will be wrapping, the clouds can't be bigger then gifts ;)
Step 1.
Draw some speech comic clouds on coloured cards using black thick felt tip pen.
You need to consider the size of gifts you will be wrapping, the clouds can't be bigger then gifts ;)


She obviously did not help, always pretending to be so tired :)

Step 2.
Cut out a similar smaller shapes from decorative paper.


Step 3.
Start on wrapping paper.
The easiest I made it's this one.
The cloud on the last photo its not attached, its there to show the purpose of lines ;)

For the second sheet of paper I use pencil's rubber and acrylic paint to make a dotted background.

For the third and the last Ela use cork to make bigger dots.

I love it when we work together but independently :)


The first part of wrapping is that!
Leave it to dry...

I then add some red and blue outlines for the big dots and few gold lines using felt tip pens.
I wrapped the gifts.
I wrapped the gifts.


Step 4.
Think of some comic book words, pick the right letters and stick it onto clouds.
Here you can get some ideas ;)
Here you can get some ideas ;)

Ela had some fun again :)


YEAH!!

Step 5.
We then stick them onto gifts using only blue tack, the idea was to re purpose it later.
They're simply too nice to throw it away, don't you think?
They're simply too nice to throw it away, don't you think?

I cut out few stars...

There you have it!!!
Ela add few little star stickers too.


I wouldn't be myself without making a quick matching card of course :P


Little suggestion of re using ;)

I hope you like it as much as we do!
The Birthday boy said
"WOW"
which is the best reaction I could wish for :)


