This year our not so little any more Ela turned 7!
For this occasion I usually make my own handmade gift wrap :)
I choose Alice in Wonderland.
I bought a tote bag in Pound store for Ela the other day which inspired my project.


She loved the movie and a story book too so it did seems to be the right choice.
I wanted something simple with use of only few colours.

I hand drew few characters and motives on my computer and made it to a FREE PRINTABLE which now you can use it too!

There's few tags and patterns you can print out on few standard A4 cards and connect for a bigger size.

Simply click the LINKS below images for printing.


tags


white rabbit


tea time


cat


Alice


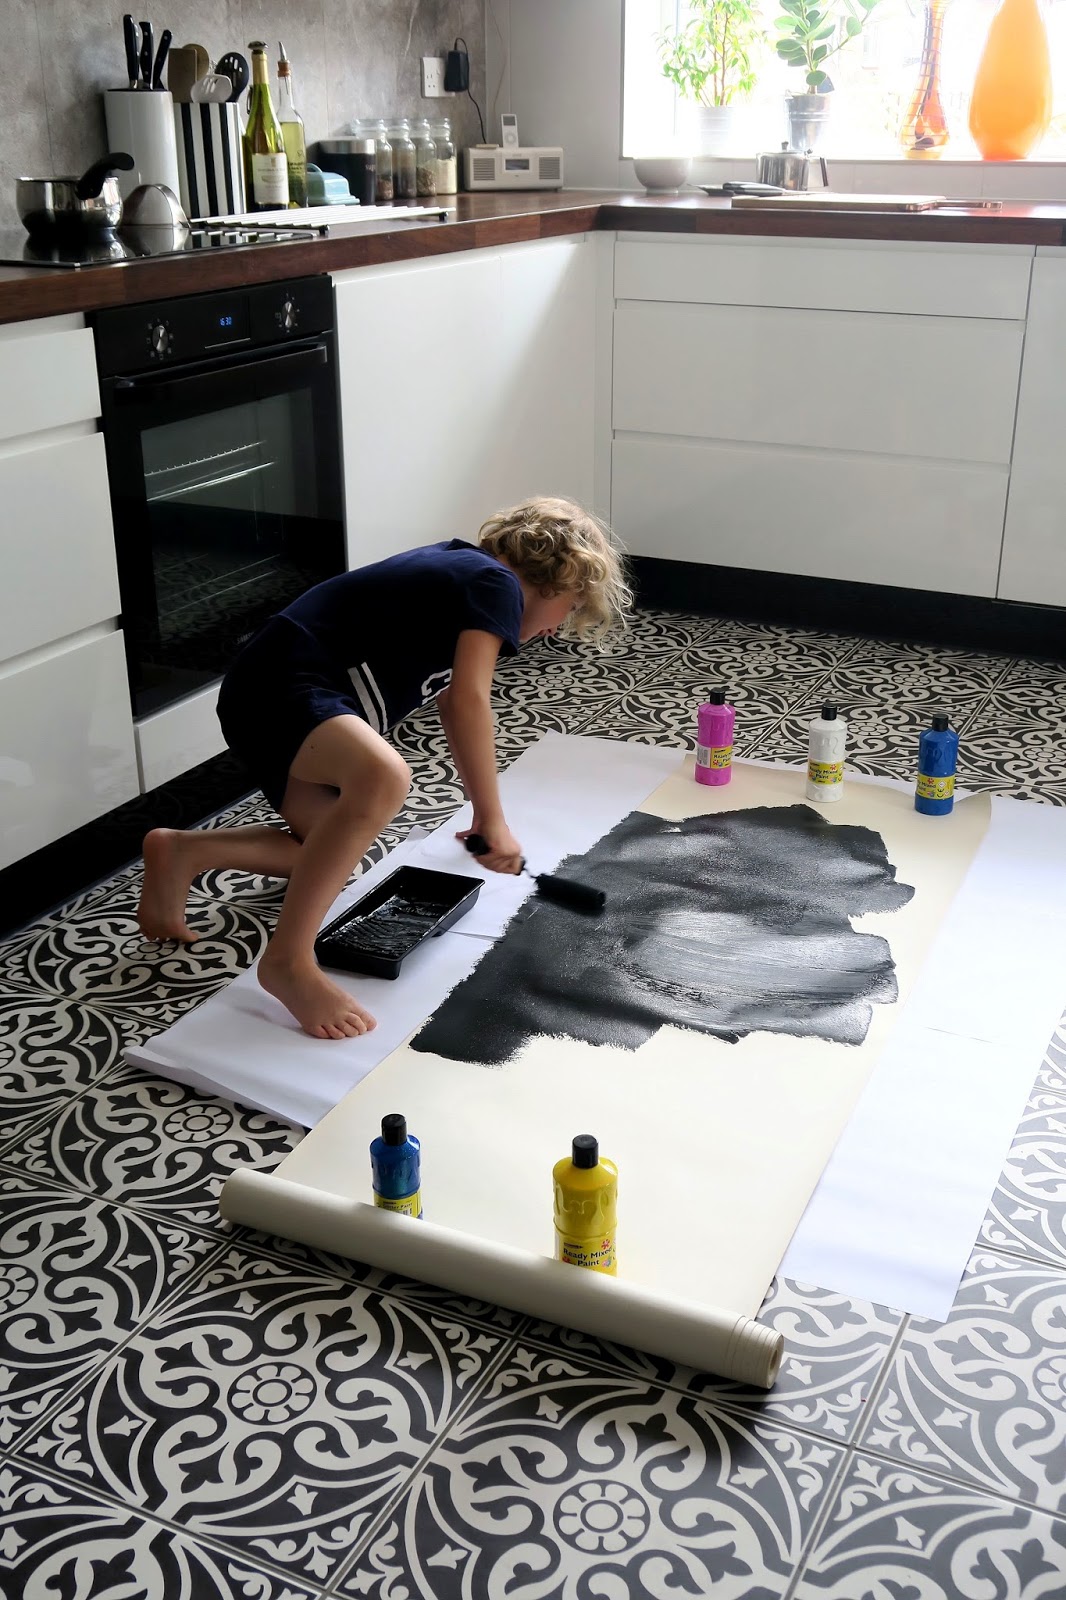
For the biggest wrapping I made a simple chess board pattern using
- foam sheet
- wooden building block
- black acrylic paint


I simply glued a square piece of foam sheet on to a block to make a stamp.


Pattern is not ideal, but hey it's hand made :)


Some gifts I wrapped in brown paper...


and hand drew some vintage keys and a key hole on.


I also had some heart patterned paper since Christmas at home which matched the theme nicely.


I packed it all into Alice tote bag.


What kid doesn't like to unwrap the gifts? :)


     This could be a great match to Alice in Wonderland inspired Birthday tea party ;)


                     If you like the idea of
handmade wrapping paper then why don't you check our other fun to make ideas like :


- GALAXY

- COMIC BOOK

- ICE CREAM

MICKEY MOUSE


                                          Happy wrapping!


Making cards and my own wrapping paper is one of my ever favorites in the world of crafts.
I love to connect these two with each other too.

Today I would love to share our newest handmade G
ALAXY paper and a card which Ela made for Father's Day :)
The process of painting galaxy inspired pattern proves to be very relaxing, rewarding, easy and simply pretty every time when done with the right effort.
Galaxy paper or card can be gifted on any other occasions, its very versatile.

So here's full tutorial on how we did it!


Materials:
- large format card stock (we use plain wallpaper and A1 white paper)

- black acrylic paint + mini roller and tray
- white,blue,green, purple,pink, orange, red...anything cosmic :)
- metallic paints (optional)- glitter paint (optional)
- sponge or craft sponges
- paint brushes
- card stock
- metallic marker


Step 1.
Paint a large format paper black, leave it to dry.
This process is so much easier with a mini roller.


                                              Let it dry.

Step 2.


We had a look at some galaxies on my laptop to get some ideas for color palette.
Ela knew what she likes best :)


Get your shades of blue, red or any other you choose to be the main one and start to paint it over black paper using sponge.
Washing up sponge should works great too.

Don't add any water.


At this point we understood we're actually creating a real painting...we gave our best effort and heart into it :)


Step 3.
Now get some contrasting color paint and experiment with different painting techniques too, like splashes. We choose bright pink.
Splashes need a dash of water to be added to the paint.

HERE is Ela's little demo ;)


Step 4.

Now it's time to add white star dust to complete the galaxy using white paint mixed with some water.


HERE's Ela with her thick and hard painting brush showing how to sprinkle the paper.
This way you will get hundreds tiny stars ;)
Leave it to dry.


                                How amazing is that!


I'm liking this so much I could honestly frame it :D


                                  To pretty to give away :P

*
If you here just for the wrapping paper than you're done!
For the card do follow next steps ;)


Step 5.
Now cut off the longest as possible strip of galaxy, not wider than your or your child's hand so it can be hidden inside it.
Ela's strip is 115 cm long and 4 cm wide.
Mine adult one is 7 cm wide.


Step 6.
Fold the paper back and forth in a fanfold. Turn the paper over and fold the end up.


Step 7.
Using metallic pen or white paint  write word THE GALAXY in any preferred typo.
One letter on each space between folds.
Leave few blank spaces on left and right so the word is in the middle.


Step 8.
Drawing outline of a hand.
Choose some nice thick paper and outline your hand, cut it out and repeat to get two hands.


Now write MY LOVE FOR YOU IS AS LARGE AS...


Step 9.
Stick each end of the galaxy to each "inside" of the hand.
We did it with double sided tape.


Fold it in....


Wrap around a string or ribbon to hold it in one place.


This cute pair of hand are now ready to spread love!


There's enough space to write the wishes on the other side of the galaxy ;)


GALAXY gift wrapping and a card will make a nice set for many occasions :)


                                      Happy crafting!